Affiliate Disclaimer - As an Amazon Associate I earn from qualifying purchases.
It supports the website. So, Thank you
Bees are brilliant little creatures that humans have benefitted from for thousands of years. We’ve reaped the benefits of honey and beeswax is another product that these critters create which humans love to use. But have you ever wondered how to make beeswax?
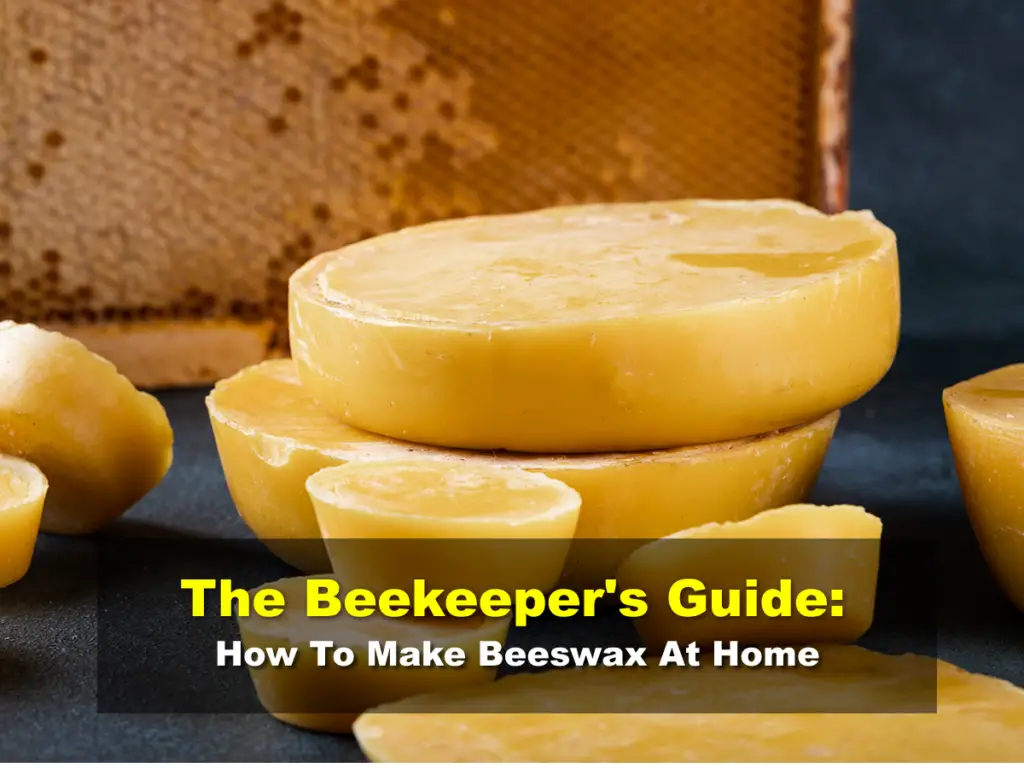
Beeswax is made within the hive but it is possible to form it yourself by wrapping honeycomb in cloth and boiling it to produce wax.
There are tons of uses for beeswax and in this post, I’m going to talk about them all. I’ll also be giving you a detailed rundown on how to make your own beeswax and how to use it for other products.
Table of Contents
How Do Bees Make Wax?
Bees are some of the most organized and hardworking creatures on the planet. Not only do they spend their days foraging for nectar, making honey, and raising their young, but they’re also producing wax!
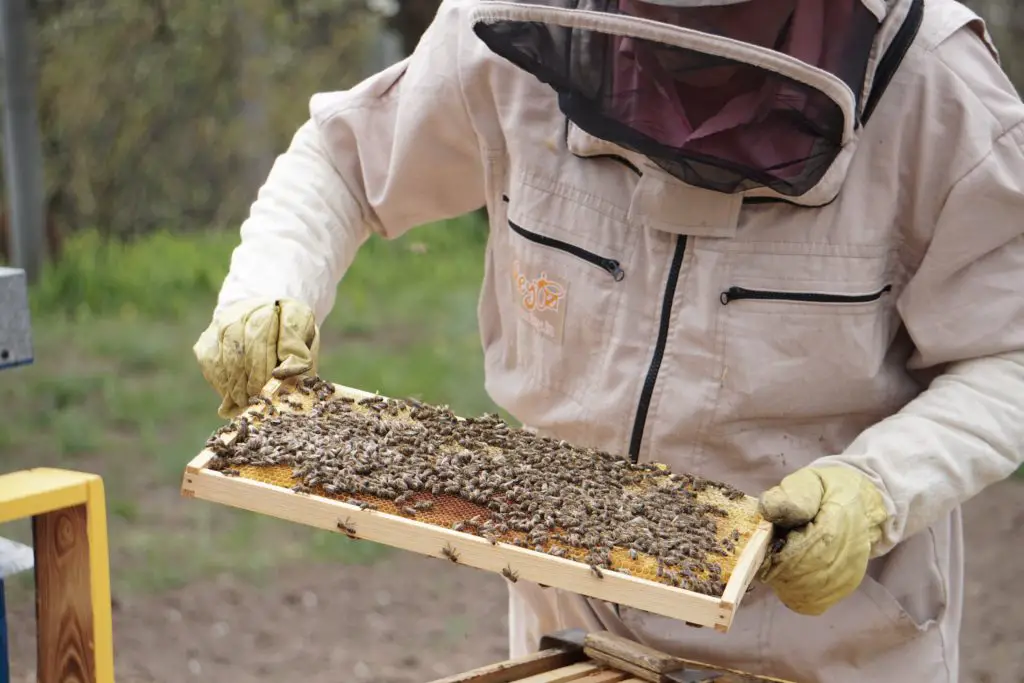
Bees use wax for building their honeycomb and capping off the cells once they have placed honey inside. They’ll also use it to seal cells where the queen has laid her eggs so it’s a very important building block within the hive.
Bees make wax from honey which they chew up and pass from bee to bee. Eventually, wax will be secreted from the wax glands which are located on the underside of the bee’s abdomen. It comes out in little scales which are then scraped off and used for the purposes I described above.
What Are The Benefits Of Beeswax?
There is evidence to suggest that humans have been harvesting bee products for up to 10,000 years. It’s no surprise when you think about the many benefits of beeswax and how many different ways it can be used.
Aromatherapy
One of the primary uses for beeswax is in aromatherapy. One of the main reasons for this is that a candle made from beeswax will have a slight scent of honey and this could be fresh, sweet, warm, or floral depending on various factors. Aromas like this are known to be calming and relaxing which is why so many people burn these candles in the home.
Another reason that beeswax makes an excellent wax for candles is that it burns for an incredibly long time. What’s more, when it burns, it doesn’t emit any smoke so it’s much healthier.
When burning these candles it is thought that some of the benefits include getting rid of airborne pollutants, odor elimination, and many more. Plus, if essential oils are added into the mix then these bring about their very own benefits and come in a massive range of fragrances.
It’s also worth noting that aromatherapists claim that essential oil beeswax candles are known to promote your physical and mental well-being and may increase your energy, lower stress levels, improve focus, reduce pain, and help to keep your blood pressure in check! Now that’s something that we could all get on board with.
Cosmetics And Beauty Products
The health and beauty market has become inundated with beeswax products and again, this will come as no surprise when you consider the many healing properties that this natural substance has.
You’ll often see it being used in lip balms and body creams because of its ability to soothe, hydrate, and calm the skin. However, unlike many other ingredients, beeswax manages to do all of this without clogging the pores, allowing the skin to breathe.
When you use a beeswax product, it adds a protective layer to the skin which acts as a barrier. Not only does this protect the skin from external pollutants but it also prevents moisture from escaping, keeping it hydrated for longer.
You’ll also notice that beeswax has a high vitamin content and acts as a wonderful exfoliator. It’s used in products that are designed to rejuvenate the skin and fight signs of ageing. In fact, you might call it something of a magic ingredient since it’s able to reduce the appearance of wrinkles and age spots and can even tackle problems caused by exposure to the sun, therefore reducing visible skin damage.
A lot of people enjoy using beeswax products for their scent. This is a mild scent because it’s 100% natural but it’s warm, floral, and rich. As I mentioned earlier, the scent of the wax may differ depending on the colony and what flowers they have been feeding on.
If you have dry skin then a beeswax lotion is going to tackle that with ease. It’s a gentle ingredient that can soothe itching, reduce irritation, and soften even the hardest and driest areas of skin such as on the heels or the lips.
Finally, you may have seen beeswax shampoos and other hair care products. It’s a common ingredient in these because of its ability to add shine to the hair and reduce any flyaways or frizzy hair.
Medicine
Perhaps one of the best uses of beeswax is in medicine. The wax is an amazing anti-inflammatory ingredient that is able to reduce redness, inflammation, and irritation. For this reason, you’ll often find it in acne treatments as well as medical products intended for the treatment of other skin conditions like eczema and psoriasis.
Not only do these beeswax treatments soothe the skin but they also promote new skin growth which eventually adds to the overall softness and texture of the skin. When these products are used, you’ll notice that the skin looks renewed.
It’s also a common ingredient in treatments for stretch marks and is known to reduce their appearance, especially when used with other medicinal products.
Going a little deeper into medical treatments, beeswax is hailed for its healing properties which means it is fantastic when used in salves designed for the treatment of wounds, cuts, burns and other minor skin abrasions.
Not only this but because of its anti-inflammatory properties and its antiviral effect, beeswax is incredibly useful at keeping bacteria out of open wounds. For this reason, it’s often used in countries with a cold, dry climates where the skin becomes easily chapped.
How To Make Your Own Beeswax
Knowing all the benefits of beeswax, you’re probably eager to get your hands on some. If you have a hive or access to some honeycomb then it’s perfectly easy to make your own beeswax right from the comfort of your own home. Here are my simple step-by-step instructions.
- Take your honeycomb and break it down into small pieces.
- Now find a suitably sized pot that you don’t mind getting dirty and pop the broken-up pieces of honeycomb inside. Many people agree that wrapping the honeycomb in cheesecloth is beneficial however, this isn’t totally necessary if you don’t have any.
- Add water to the pot; around ¾ of the way to the top is fine and put it on the stove on a medium heat. You don’t want the water to boil but simply come to a gentle simmer.
- Keep in mind that this is a messy process and the honeycomb will begin to melt and turn into something that resembles a thick soup.
- Once this happens, you will now need to take a strainer which again, you don’t mind ruining, and pour the melted comb into this. The liquid will pour into the container below and any remnants can be discarded.
- After this, you will need to purify the liquid once more which can be done by putting it back into the pot and leaving it to simmer again. Keep it on the heat until any remaining gunk rises to the surface and can be strained out.
- Allow the liquid to sit for some time and, as it cools, you will notice that the beeswax separates from the water and forms a little disc. Let it completely cool and then remove the disc and use your beeswax in whatever way you desire. If you need some inspiration, I’ve provided some recipes below.
Making Beeswax Candles
To make your very own beeswax candles at home, you will need the following ingredients and tools:
- ½ lb of beeswax
- ¼ of a cup of coconut oil
- Candle wicks (cotton)
- Glass jar
- Glass or ceramic containers for the candles (4 oz)
- Wick stickers
- Something to stir the wax; bamboo skewers are ideal for this
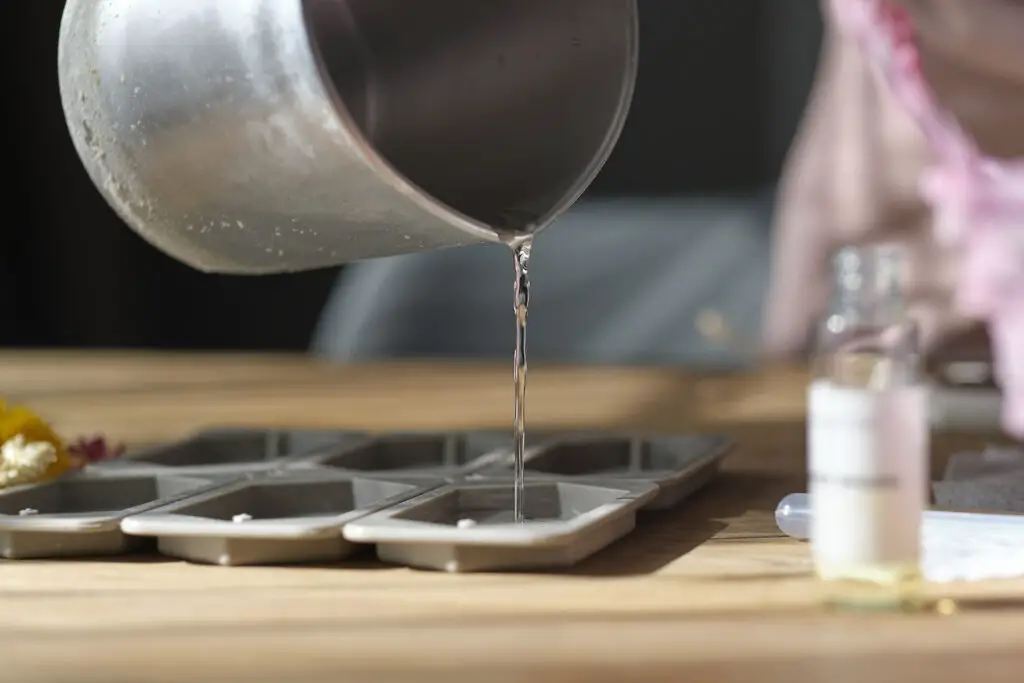
Start by taking your beeswax and popping it into your glass jar. Then take a large pot and put the jar inside. Fill it with water so that the height of the wax within the jar is covered. However, be careful not to fill it so high that any water will get inside. Put the pot onto the heat and allow it to reach a low boil.
Keep the pot on the heat and allow it to melt the beeswax. You’ll need to be involved in this process, stirring the wax every couple of minutes. Do keep in mind that beeswax could be flammable so you’ll also need to keep a close eye on things from a safety perspective. Also ensure that no wax has fallen onto the stovetop. If the wax starts to get too hot, it will smoke which should be taken as a warning sign.
As the wax melts, you can also prepare your candles by adding a wick sticker to each of the containers. You can then use a skewer to wrap the wick around and place this across the top of the container.
By now, your wax should have melted so take it off the heat and add in some coconut oil, giving everything a good stir to ensure it is properly mixed. The benefit of this is that it will stop the candle from tunneling and provide you with a more consistent burn. However, this step isn’t essential and can be skipped if you prefer.
You might also decide to add a few drops of essential oils to give the candles a unique fragrance. However, again, this isn’t a vital step.
Lastly, you will need to pour some wax into each of the containers and allow the mixture to set for between one and two days. When it has set, trim the wicks and they’ll be ready to burn.

Making Beeswax Polish
Beeswax polish can be used for a variety of applications including the treatment of wooden chopping boards, furniture, and much more. If you would like to make your own, gather the following:
- 15 grams of beeswax
- 45 grams of your chosen oil; olive, linseed, coconut, jojoba, or hazelnut are all excellent options.
- 10 to 20 drops of your chosen essential oil; sandalwood, pine, lavender, and cypress are all brilliant choices.
- Vitamin E oil; you’ll need 10 drops but this is optional. You can also use rosemary oil.
The ingredients above will allow you to make about 60 grams of beeswax polish which should be just the right amount to fill an empty shoe polish container. However, you can adjust the above quantities to make more or less polish, according to your needs.
Start by taking your oil and beeswax and putting this into a pyrex jug (you can also use a metal jug) and then put this into a pot of gently boiling water. As with the previous recipe, you’ll need to be on hand to stir the mixture. The process of melting the wax usually takes around five to ten minutes.
Now take the mixture off the heat and pop in your essential oils and vitamin E oil if you have chosen to use this. Give everything a good stir.
Now all you need to do is pour the mixture into your container and leave it to set. It shouldn’t take more than around ten minutes and then you’ll be ready to use your polish.
Making A Beeswax Wrap
Beeswax wraps have become a popular choice in the kitchen instead of using cling film, which is not as sustainable or eco-friendly. If you’d like to try your hand at making your own, then you’ll need the following equipment.
- Beeswax
- Material made from 100% cotton
- Baking paper
- A grater
- Scissors
- Iron
Start off by cutting your material into the right shape and size. This can be anything, according to your needs. When you’re ready, place the material onto a sheet of baking paper and make sure that the surface below is heat resistant.
Now take your beeswax and grate enough of this to apply a thin, even layer over the entire piece of cotton material. Pop another sheet of baking paper over the top of the wax.
Take your iron and set it to around 300ºF. If your iron is marked with various settings, go for the one that says ‘wool.’
Next, iron gently over the top of the baking paper which will cause the beeswax to melt. As it does, it’ll penetrate the cotton material so make sure that you have a consistent layer that goes all the way to the edge. If you notice any areas that aren’t covered in wax, just add a little more and repeat the ironing process.
Once the wrap is complete, allow it to cool completely before removing the baking paper. You can then use your wrap for covering food and the great thing is that it’s fully reusable. Just wash it with dish soap and water and it’s ready to go again once it’s dried.
Final Thoughts
You don’t have to be a bee to make beeswax. As long as you have some honeycomb, you can make this glorious and beneficial product in your own home and there are so many uses for it once you have it.
If you ever wondered how to make beeswax and worried that the process would be difficult, think again. It’s super quick and easy!
